 So far, in our Google My Business Tips series, we’ve talked about:
- The Keyword Report
- Optimizing Your About Section
- Optimizing Your Info Fields, and
- Optimizing Your Images
In this installment of the series, let’s take a look at how to actually publish a post through your Google My Business listing.
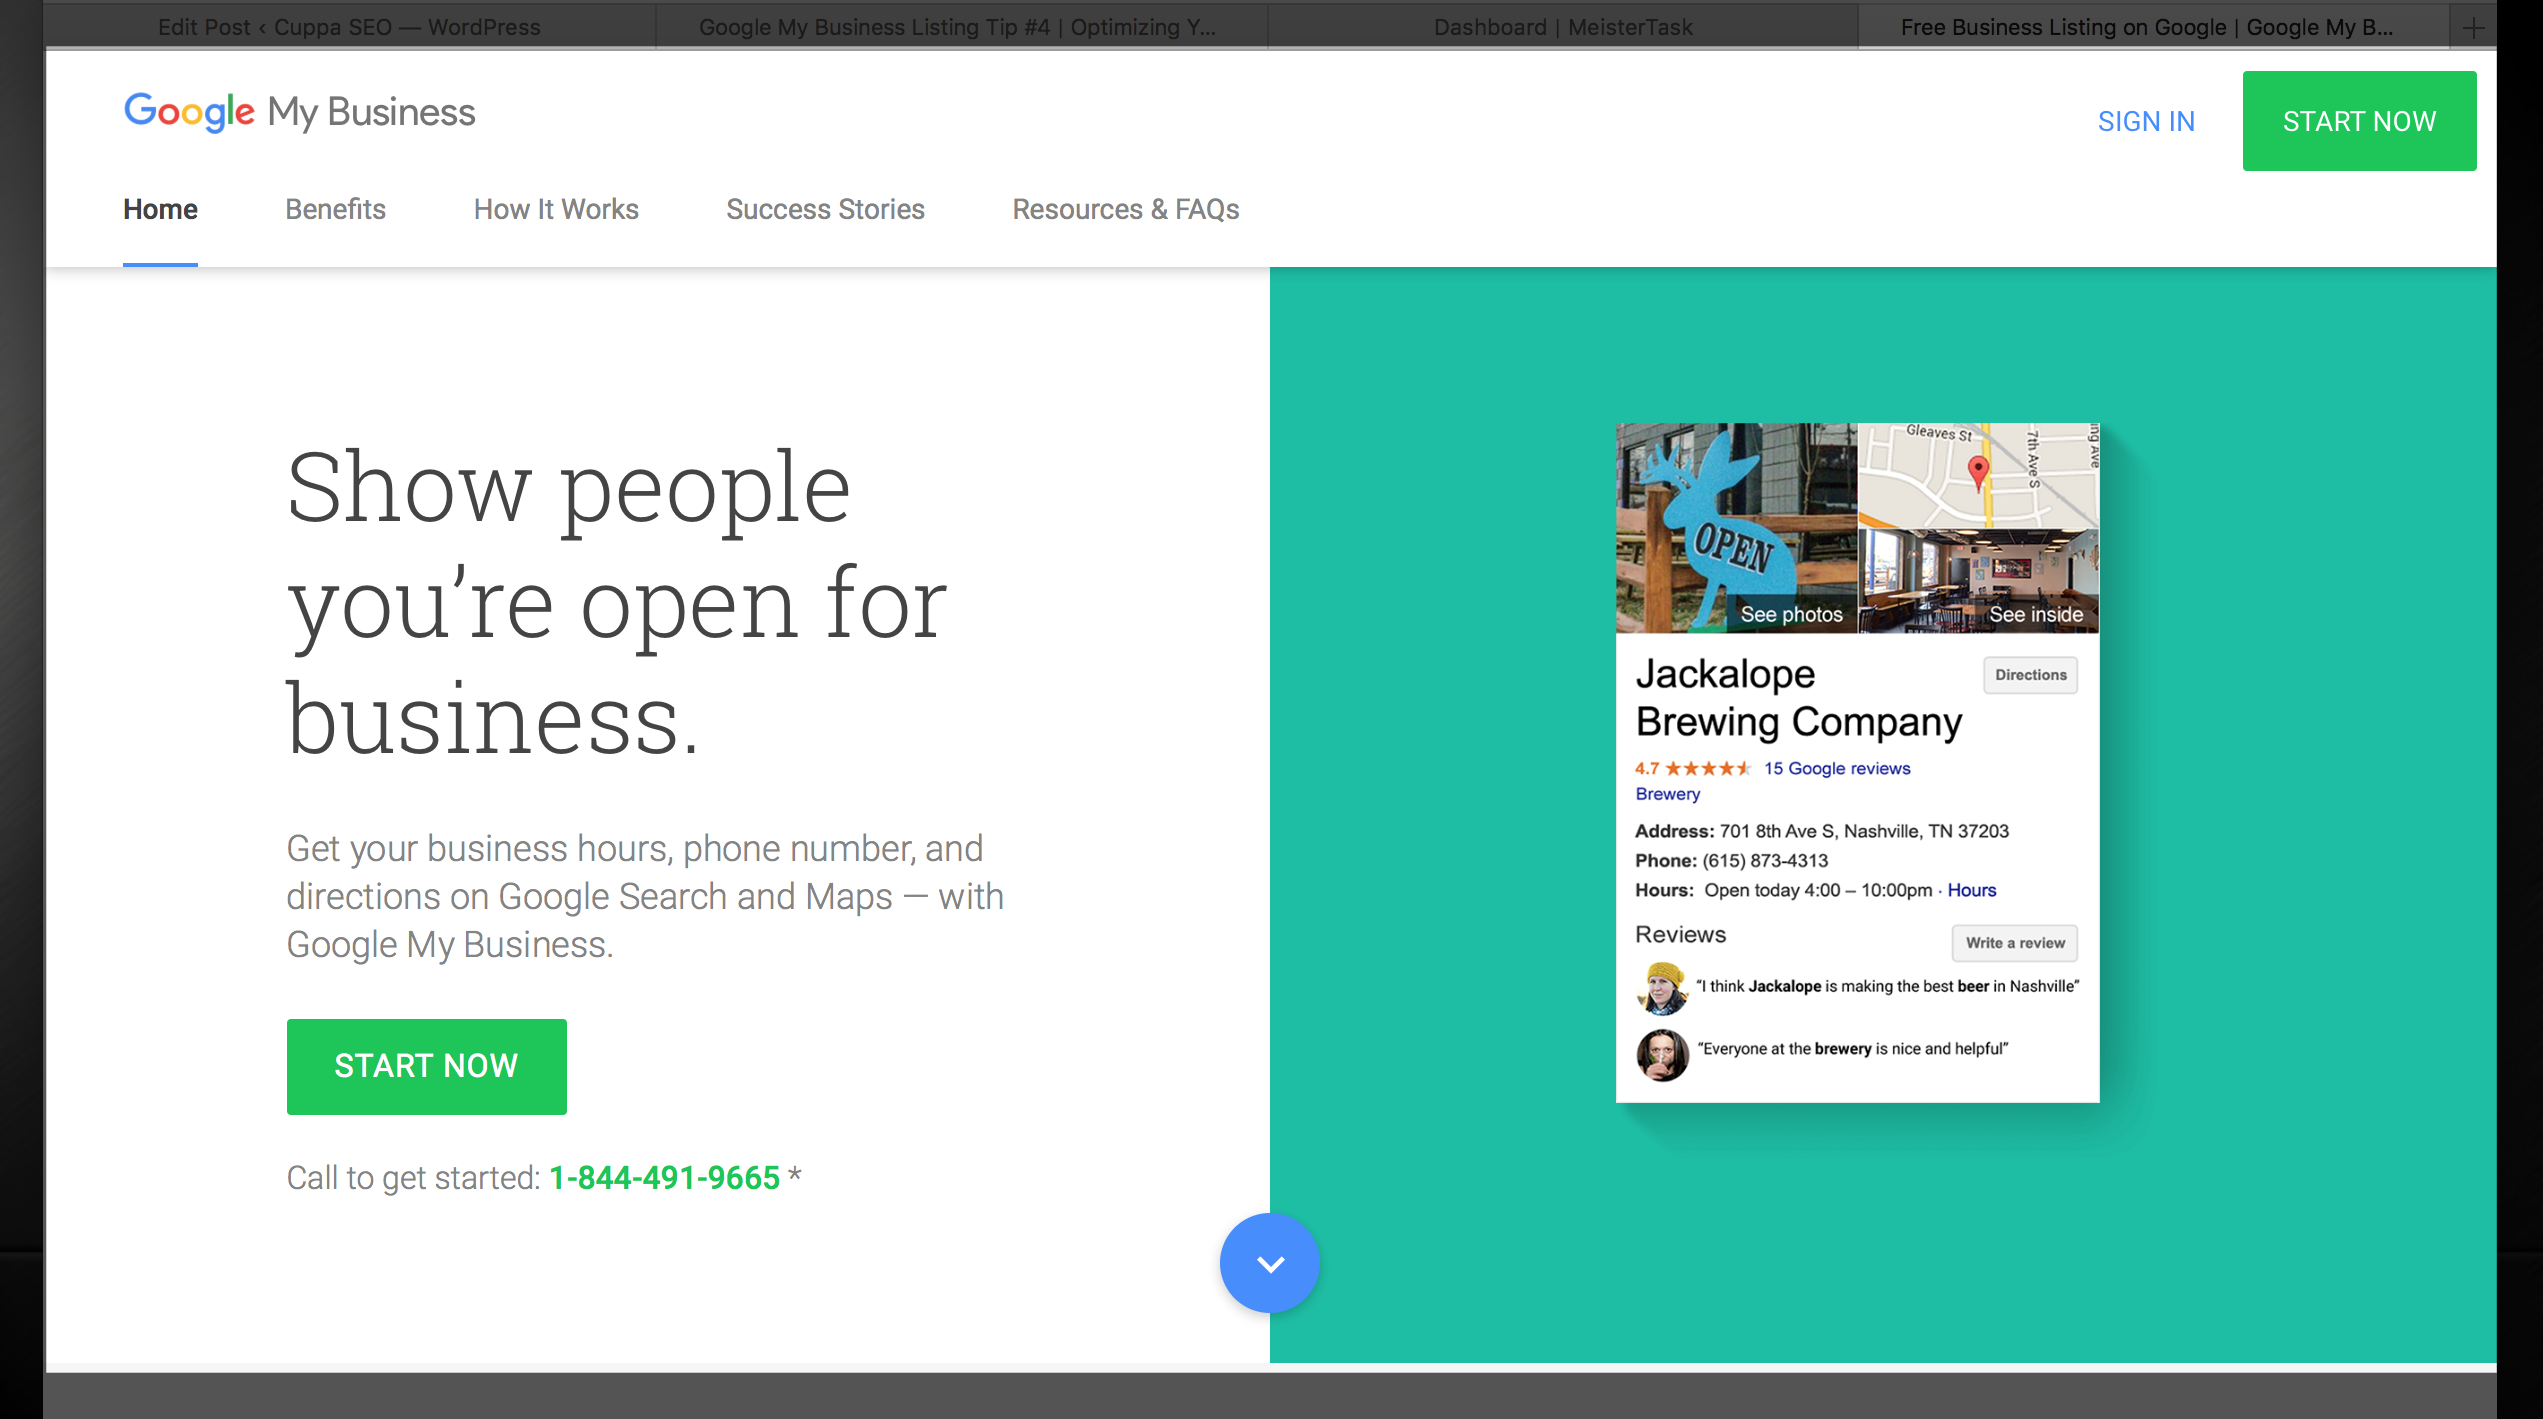
1. Sign In
Obvious, right? But not always easy — especially if you haven’t logged into your Google My Business listing in a while. If you don’t already have your login page bookmarked, here it is:
https://www.google.com/business/
When you get there, click on the “Sign In” button in the upper-right corner.
Once you’re signed in, you should see a page that looks something like this …
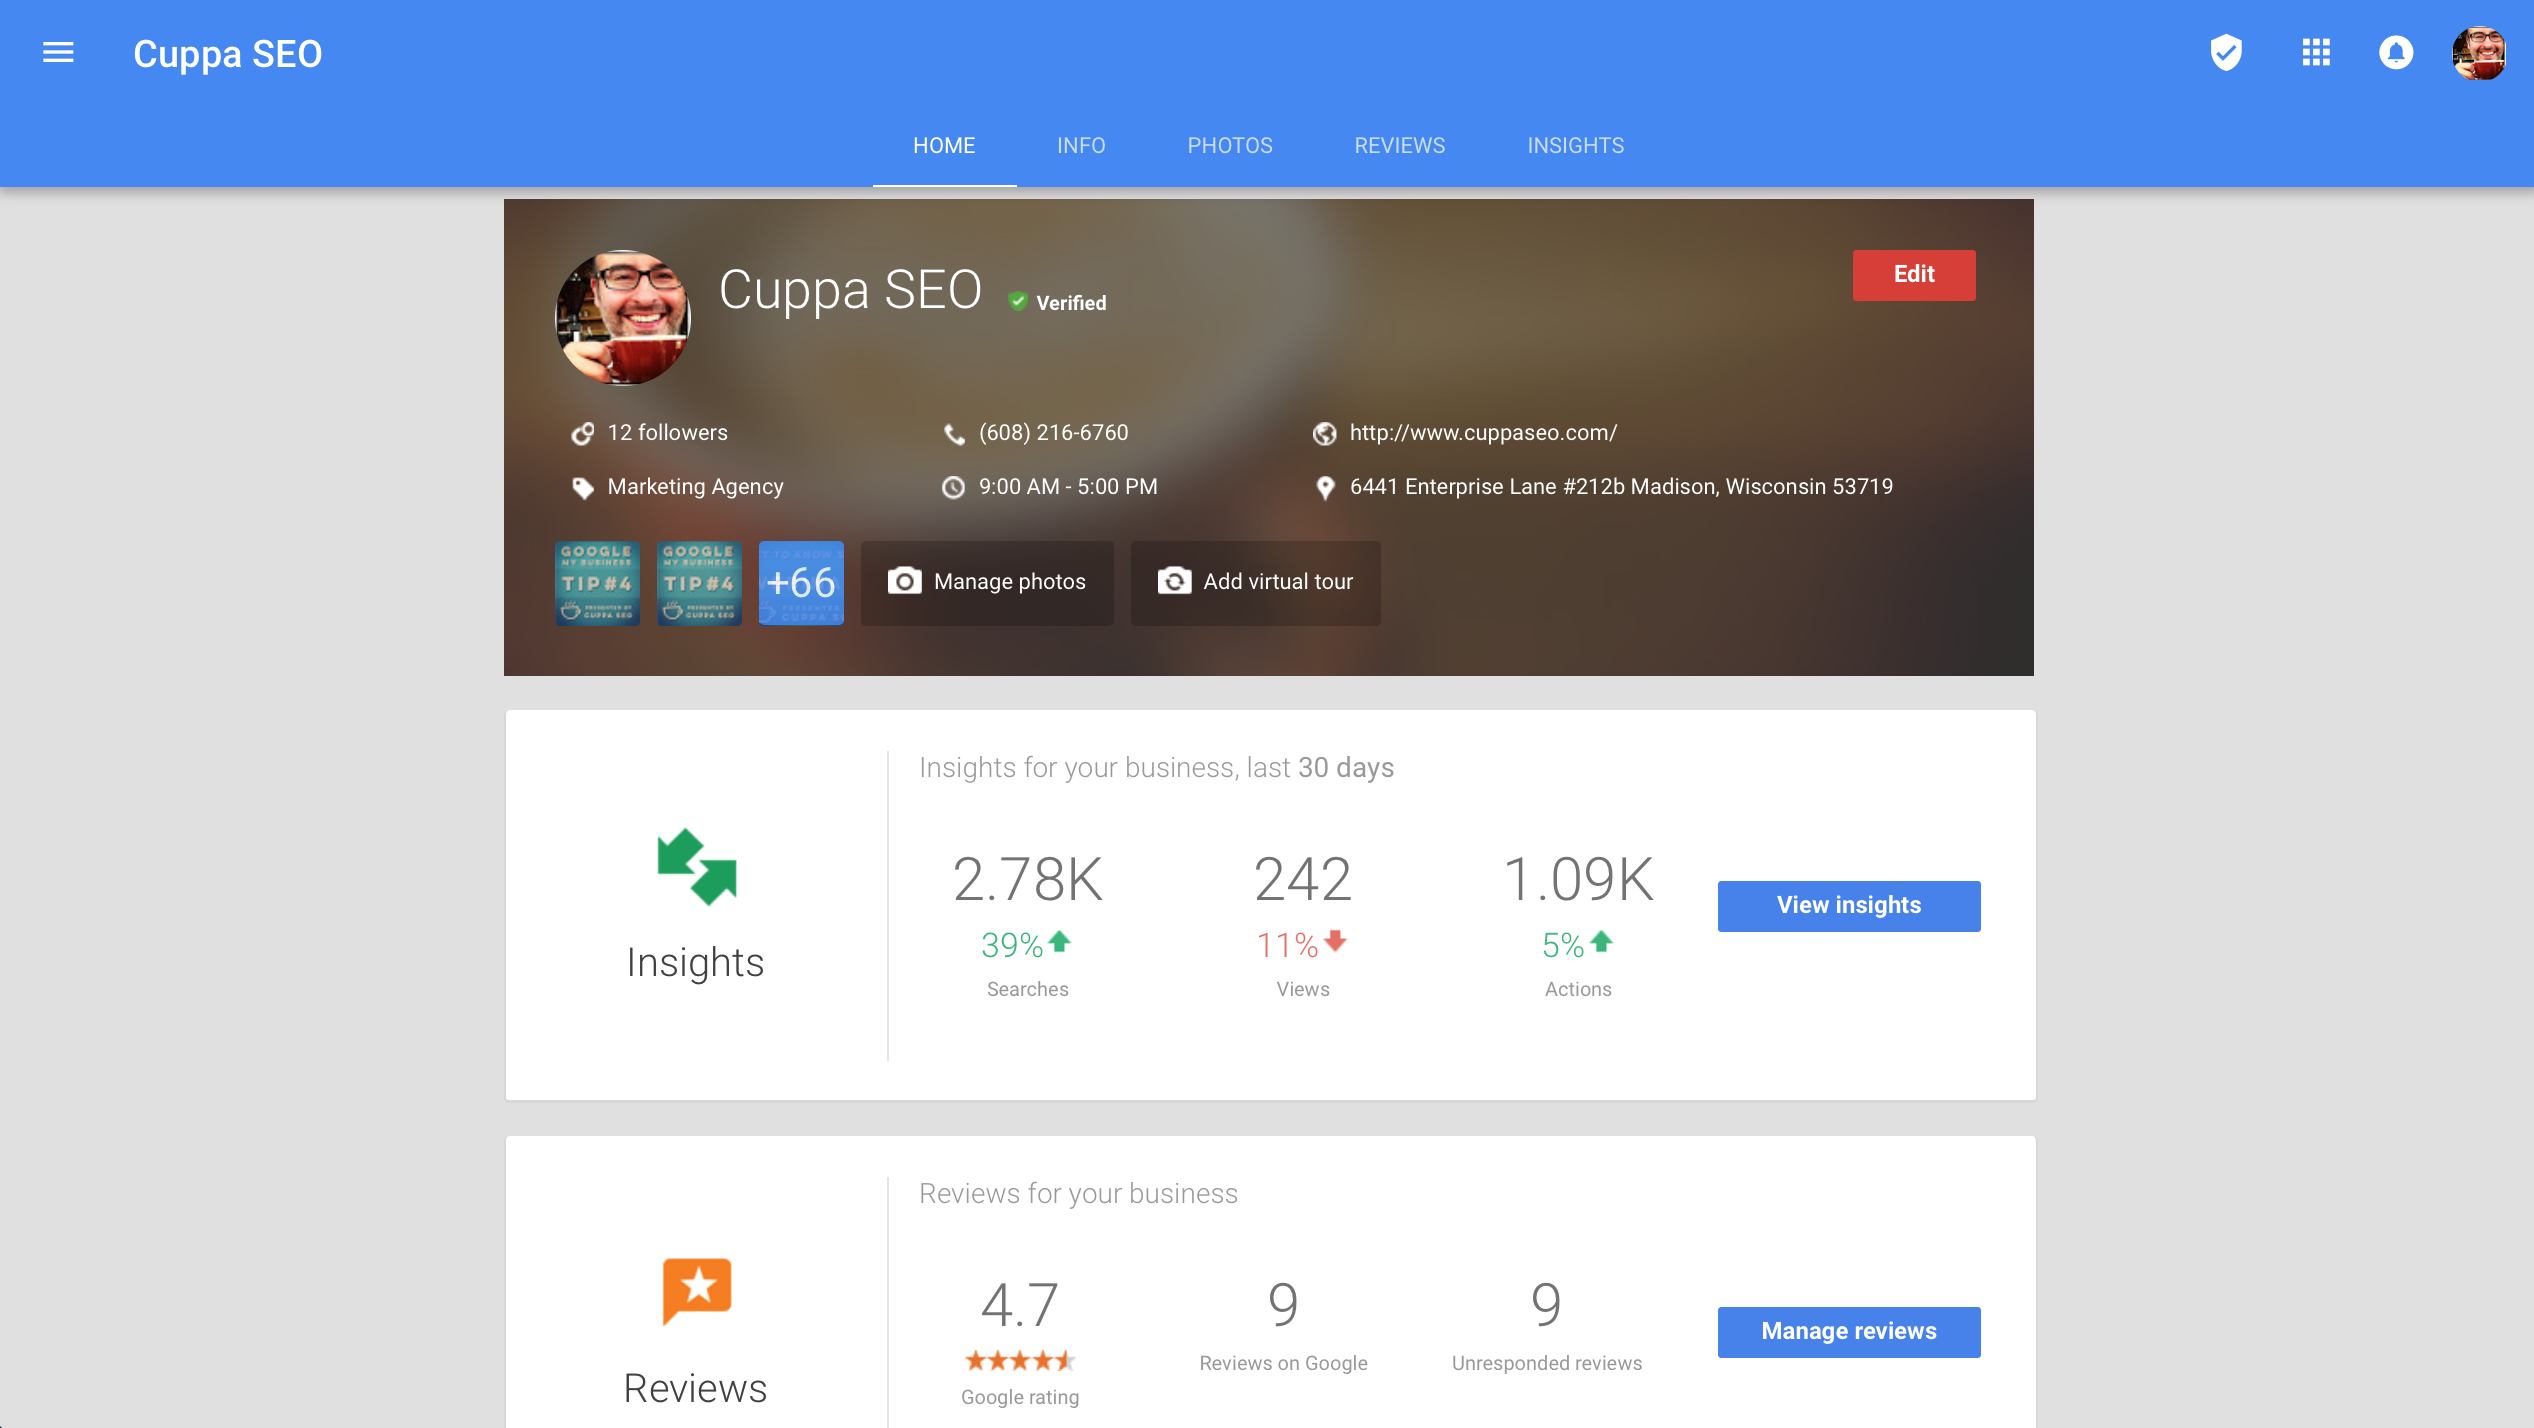
2. Scroll to the bottom of the page and click on G+
What? You’re probably wondering why I’m directing you to Google+ when we’re talking about posting on Google My Business. The reason is because the two are actually part of the same whole.
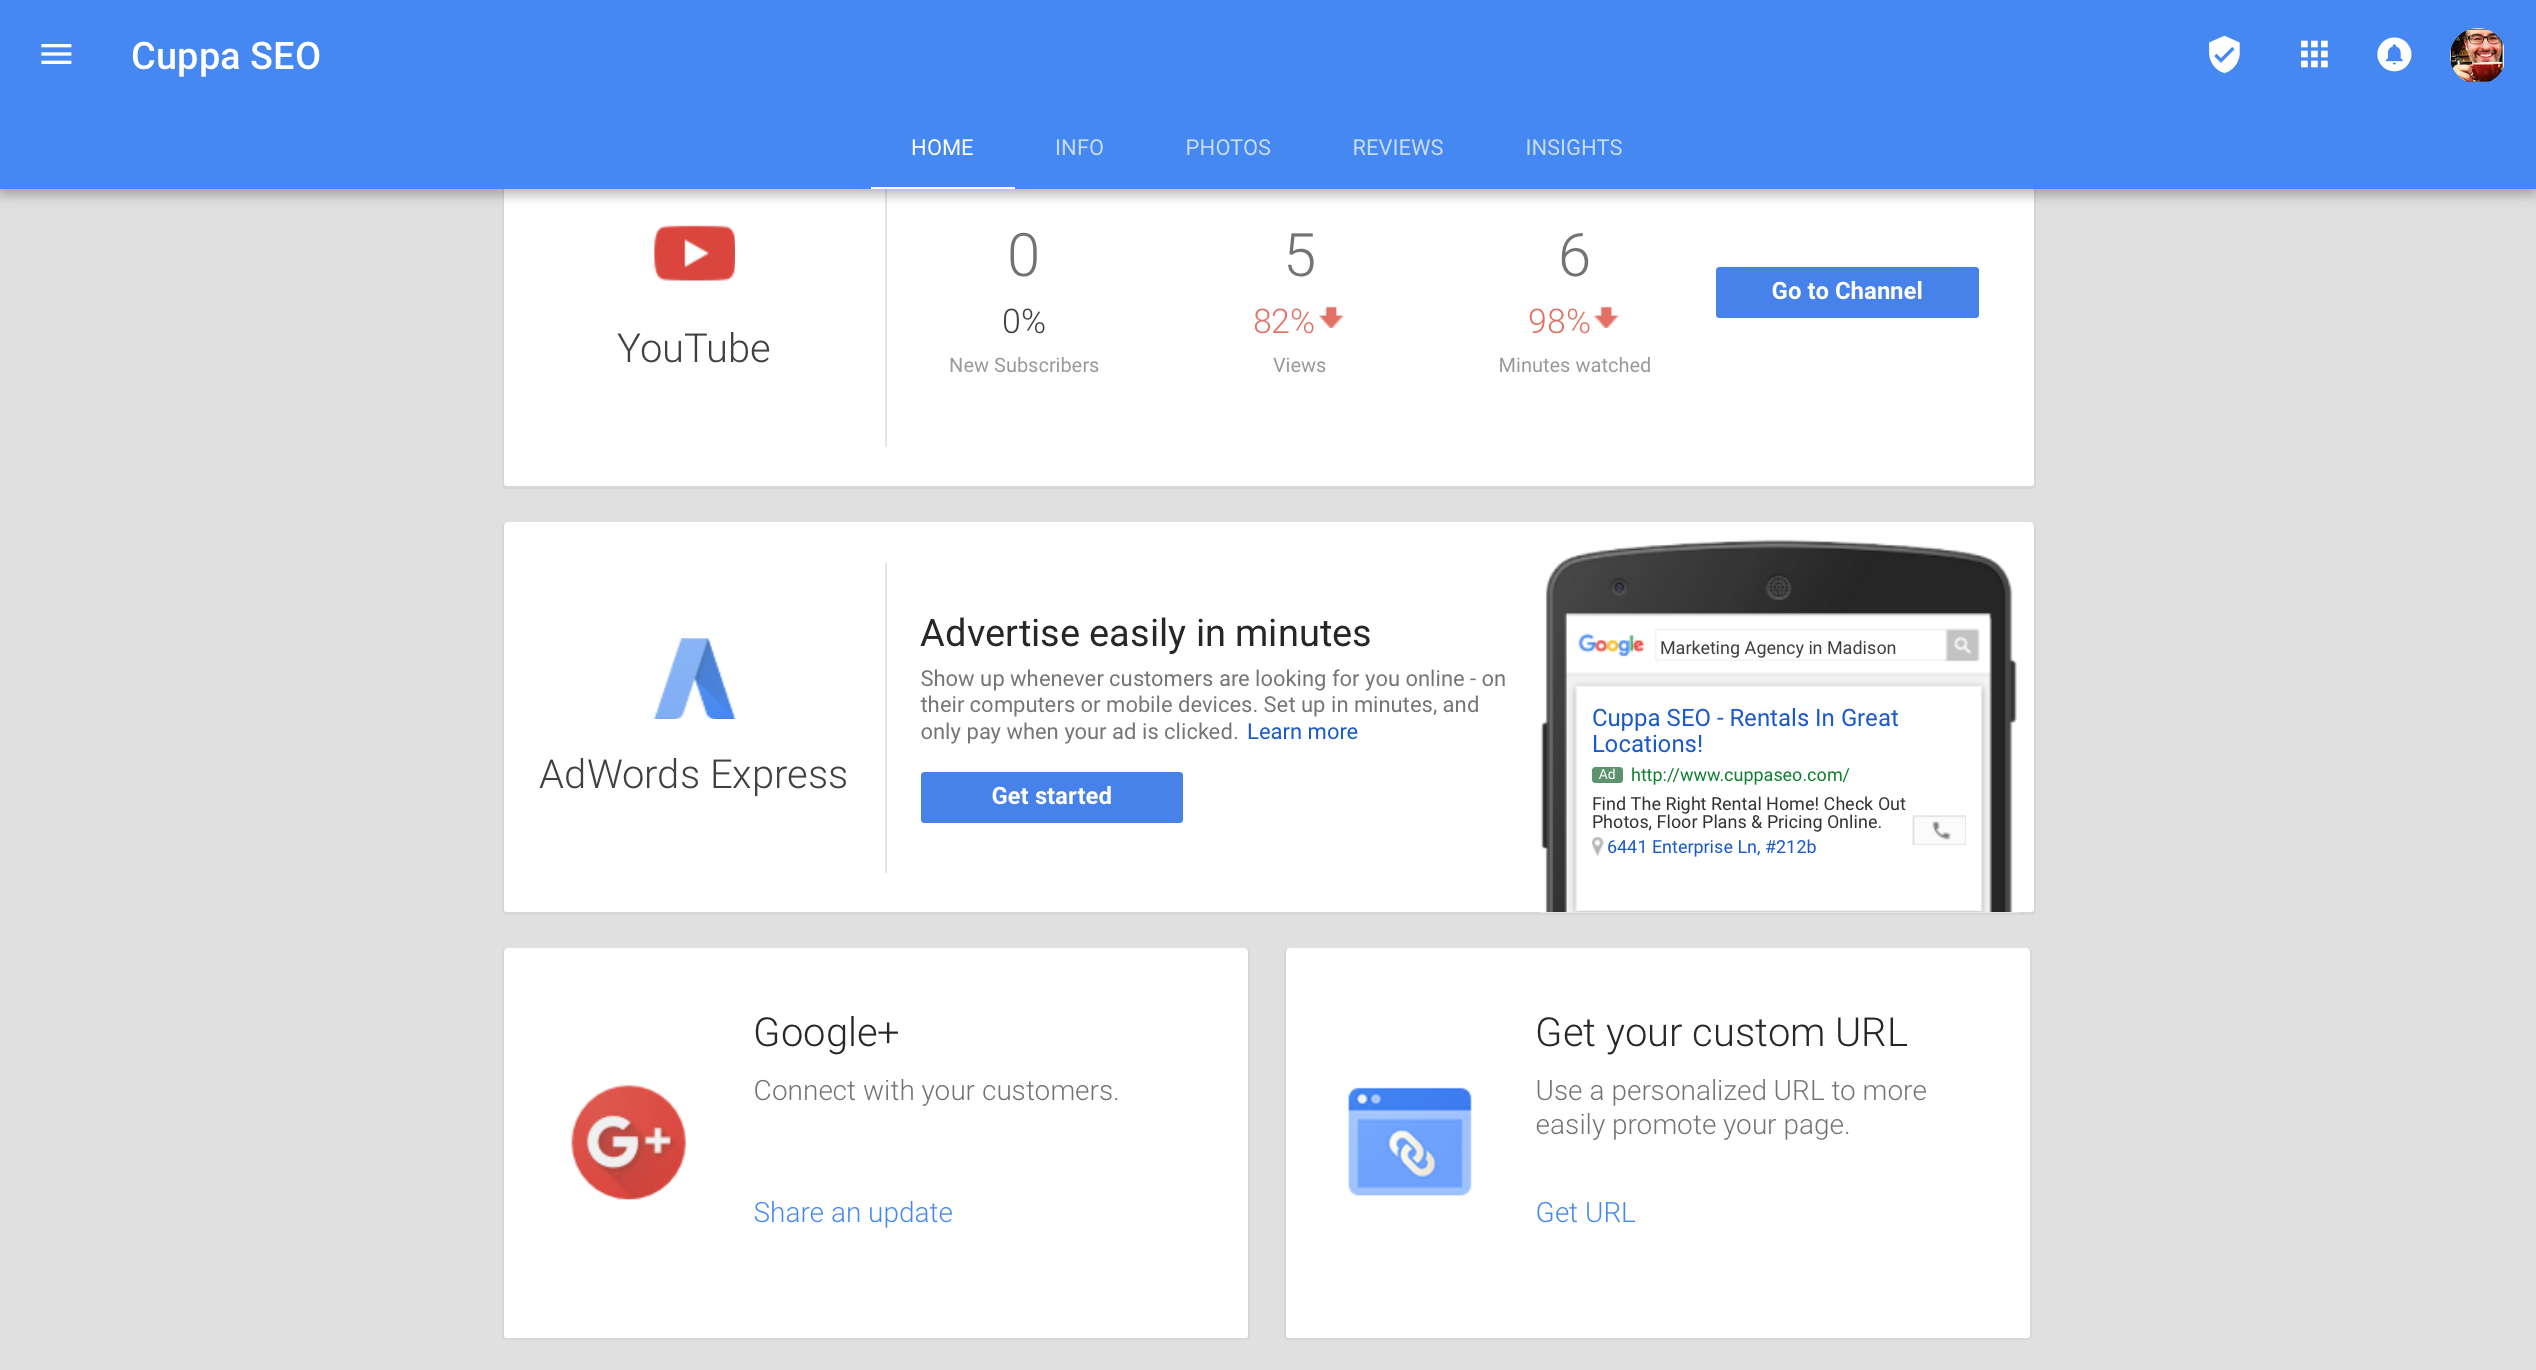
Overall, it’s a confusing, sub-par user experience Google is providing here, but it’s all we’ve got. And since Google My Business holds so much SEO value, it’s important to publish posts there, just like you would on your other social media channels.
3. Prepare Your Post
Once you’ve clicked on Google+, you’ll wind up on a page that looks like this:
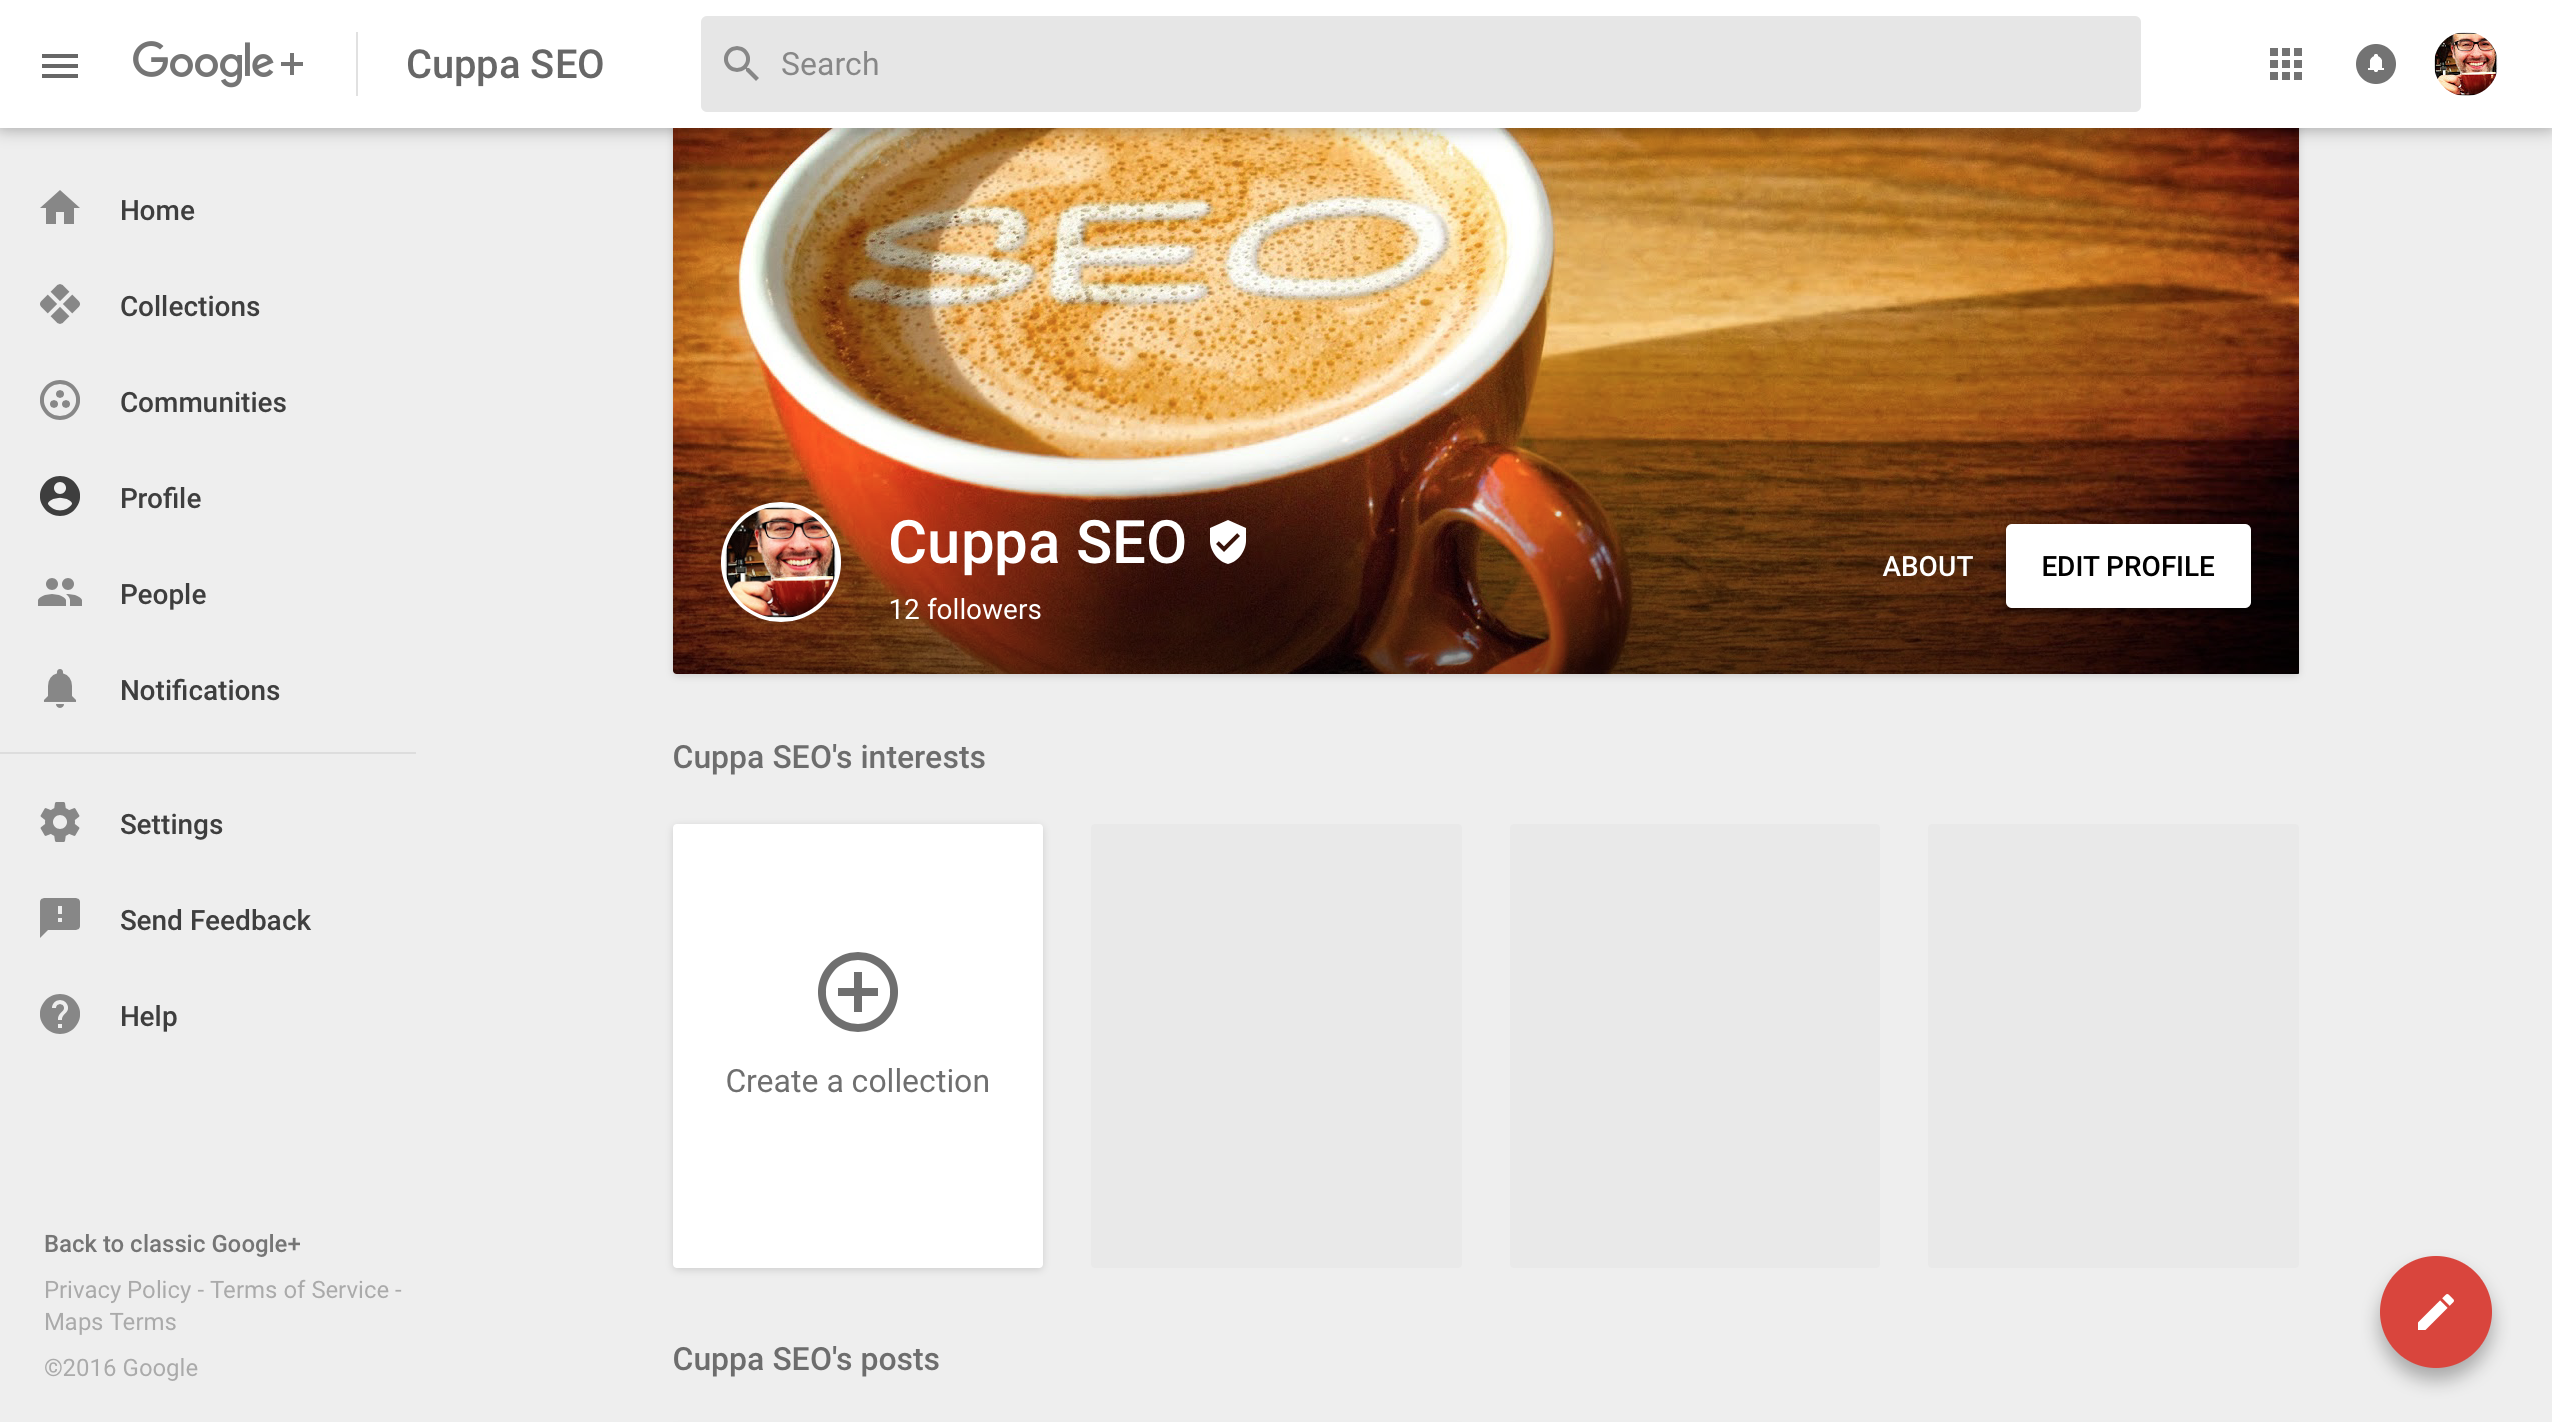
Click on the red pencil icon in the lower-right corner, and you’ll FINALLY be ready to publish a post.
Here’s what you’ll see:
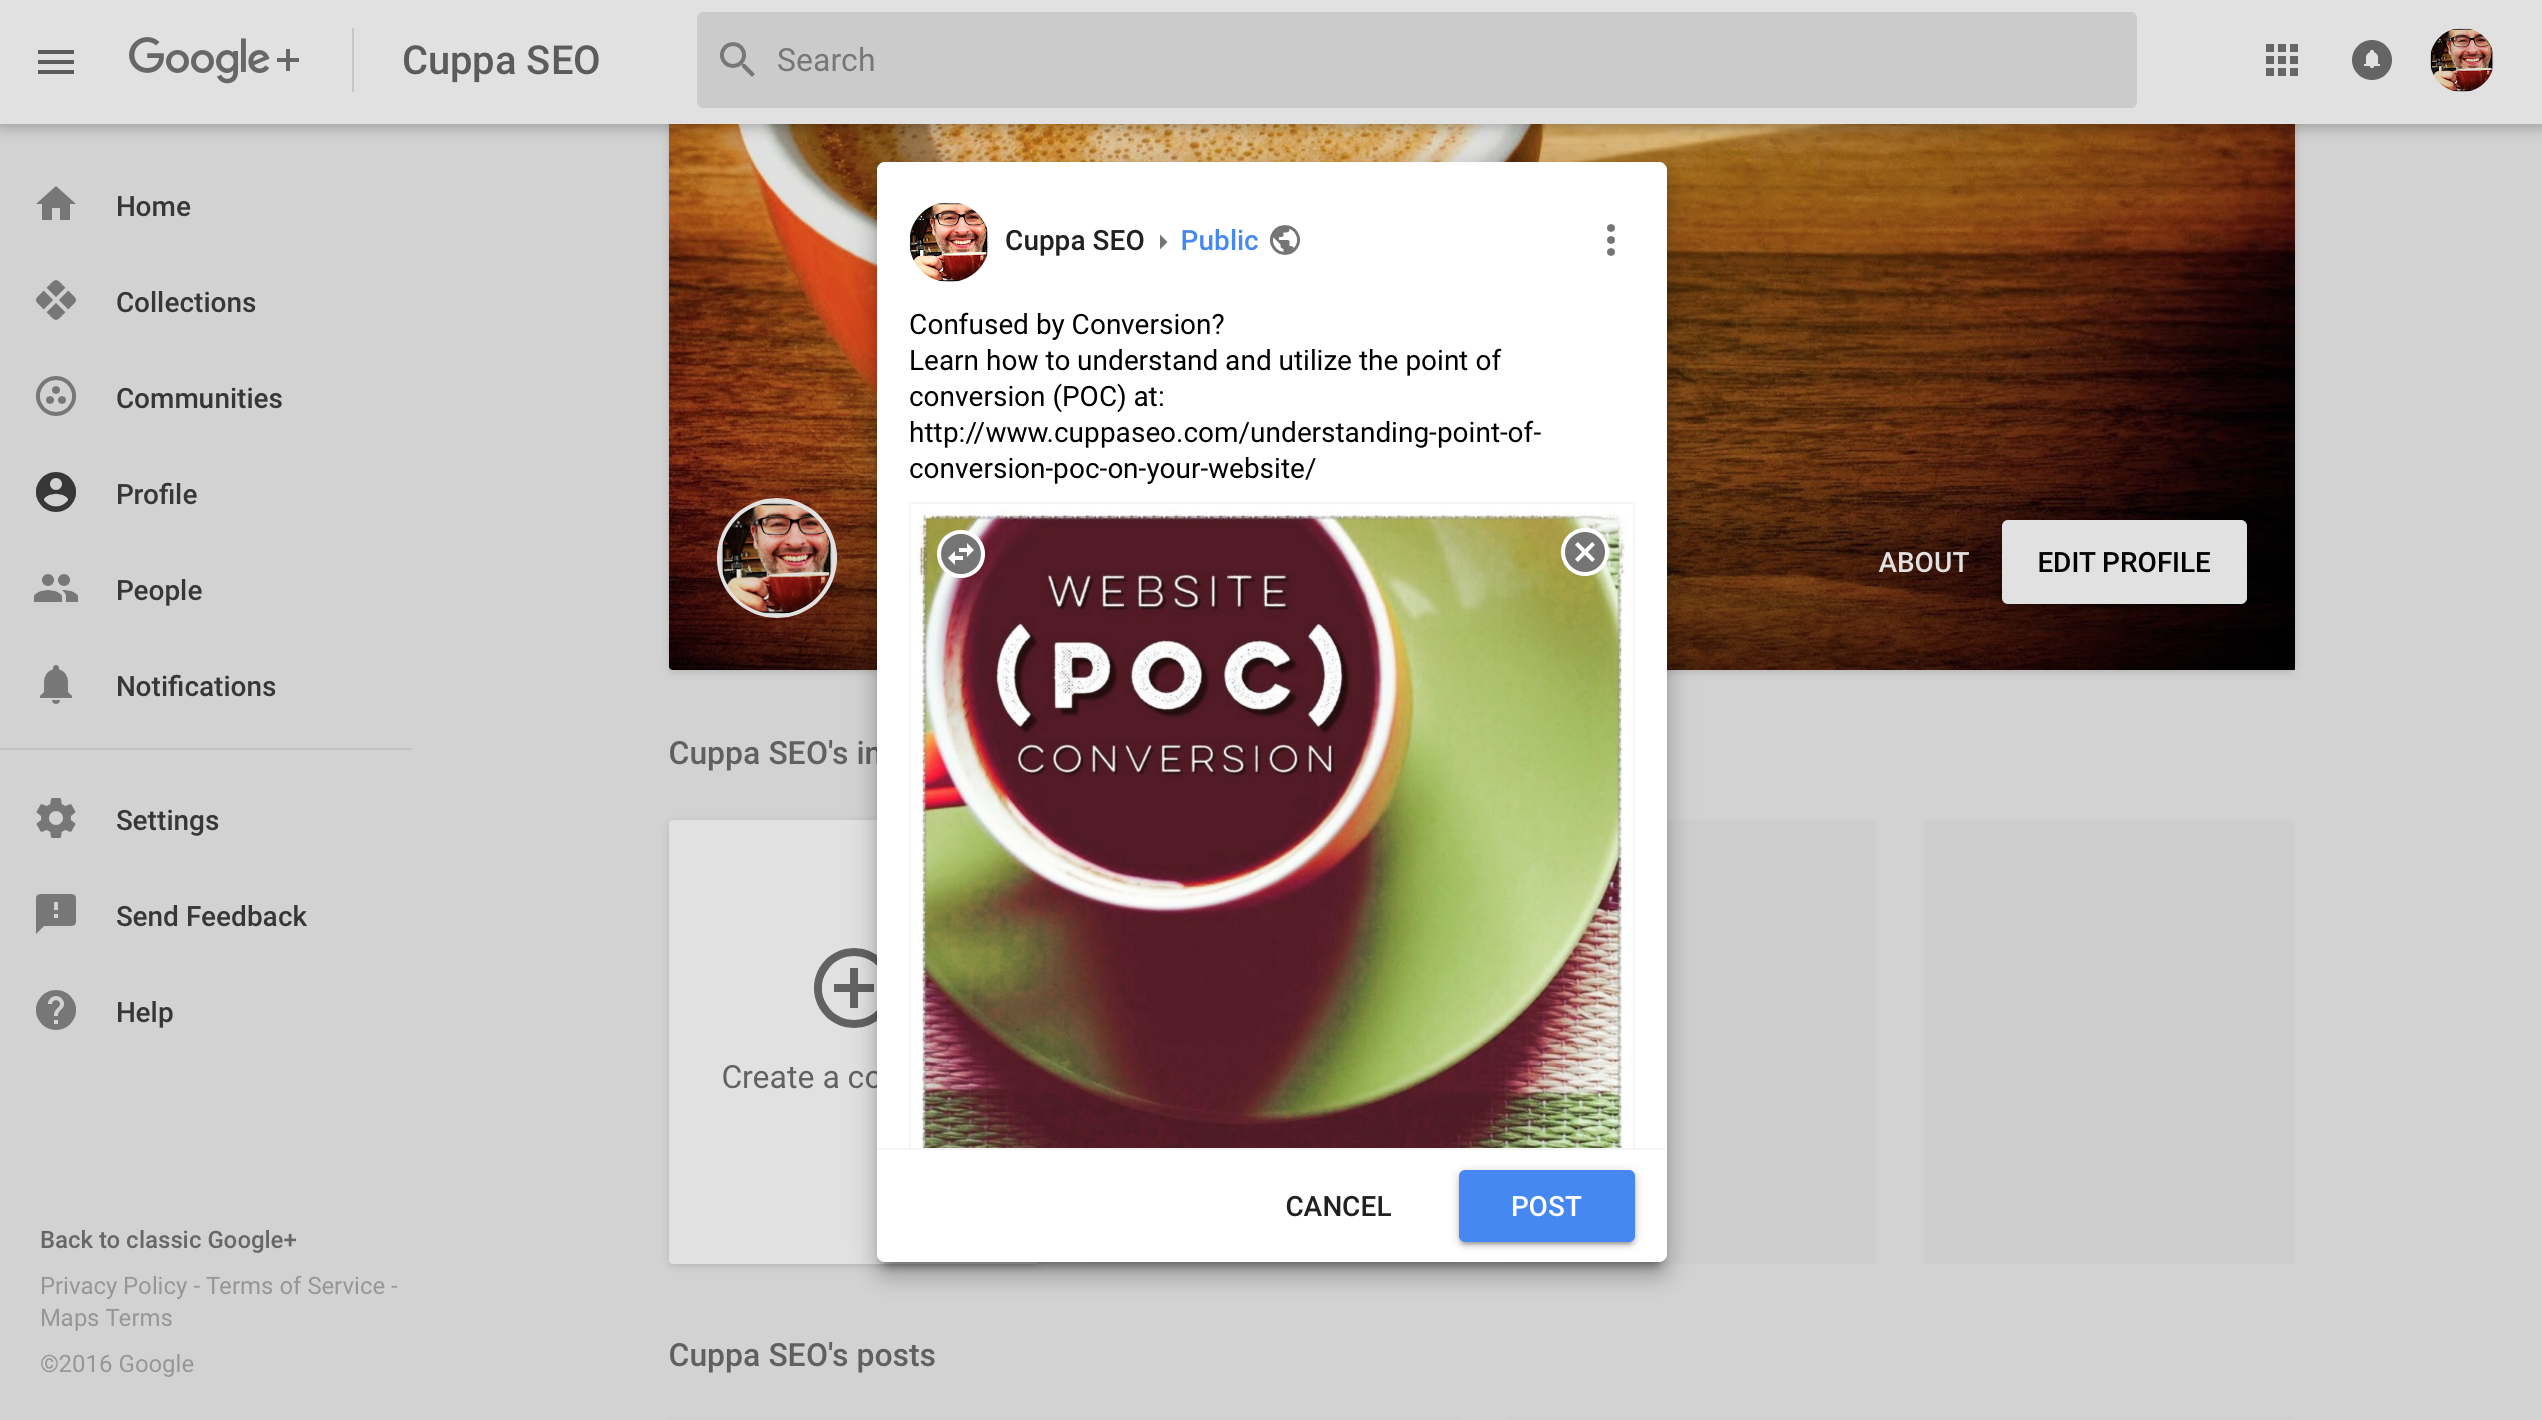
I’ve taken the liberty of populating the post so you can see what one looks like:
- We’ve got a short title, “Confused by Conversion?”
- Followed by brief copy.
- Along with a link back to the Cuppa SEO blog. Typically, I like to shorten the URL with TinyURL or something similar, but here I’ve left it as is so it could be a point of discussion. If the URL is too long, it can make the post “muddy,” which is why a shortened URL is typically a better solution.
- Google does you the favor of inserting imagery that already exists on the page/blog post you are linking to. Click on the “X” in the upper-right corner of the image and delete it. Then, promptly upload your optimized image (details on this in Part 4 of the series) and implement it here.
- Be sure to publish to “Public,” unless you want to publish directly to a collection for a specific reason.
Before the most recent Google My Business/Google+ update, you were able to tell Google to save this photo to your “Business Photos,” which was really nice because it enriched your photo library and improved the SEO value of your Google My Business listing, too.
As of this writing, this feature is gone. If it comes back, be sure to use it! Until then, you’ll have to manually add a new, optimized image to your Google My Business photo library.
Once you’ve double checked your work, click on the “Post” button and it’s published (finally)!
I hope this post makes it easier for you to post on Google My Business!

Additional installments of the series: