 Once upon a time, when you published a post on your Google My Business listing, you could tell Google to automatically add the photo in the post to your “Additional Photos” section.
Those days are gone, at least for now, which means that when you publish a post on Google My Business you’ve got to manually upload your optimized image into your “Additional Photos” section.
To follow is a step-by-step process on how to do just that. It’s not hard once you know what to do. And if you’re wondering why you need to upload these photos into your Google My Business listing, it’s because it adds a little more optimization to your listing, which can give it more authority — helping it rank higher when someone searches for what you do.
If you need help optimizing your photos, check out Part 4 of this series, Optimizing Your Images, for more info.
Step 1
To begin, you’ll first need to sign into your Google My Business listing. Your Google user name and password should be the same for all your business-related Google accounts (Gmail, Google+, Google Docs, etc.)
Step 2
Once you’re logged in, you should see a page that looks like this …
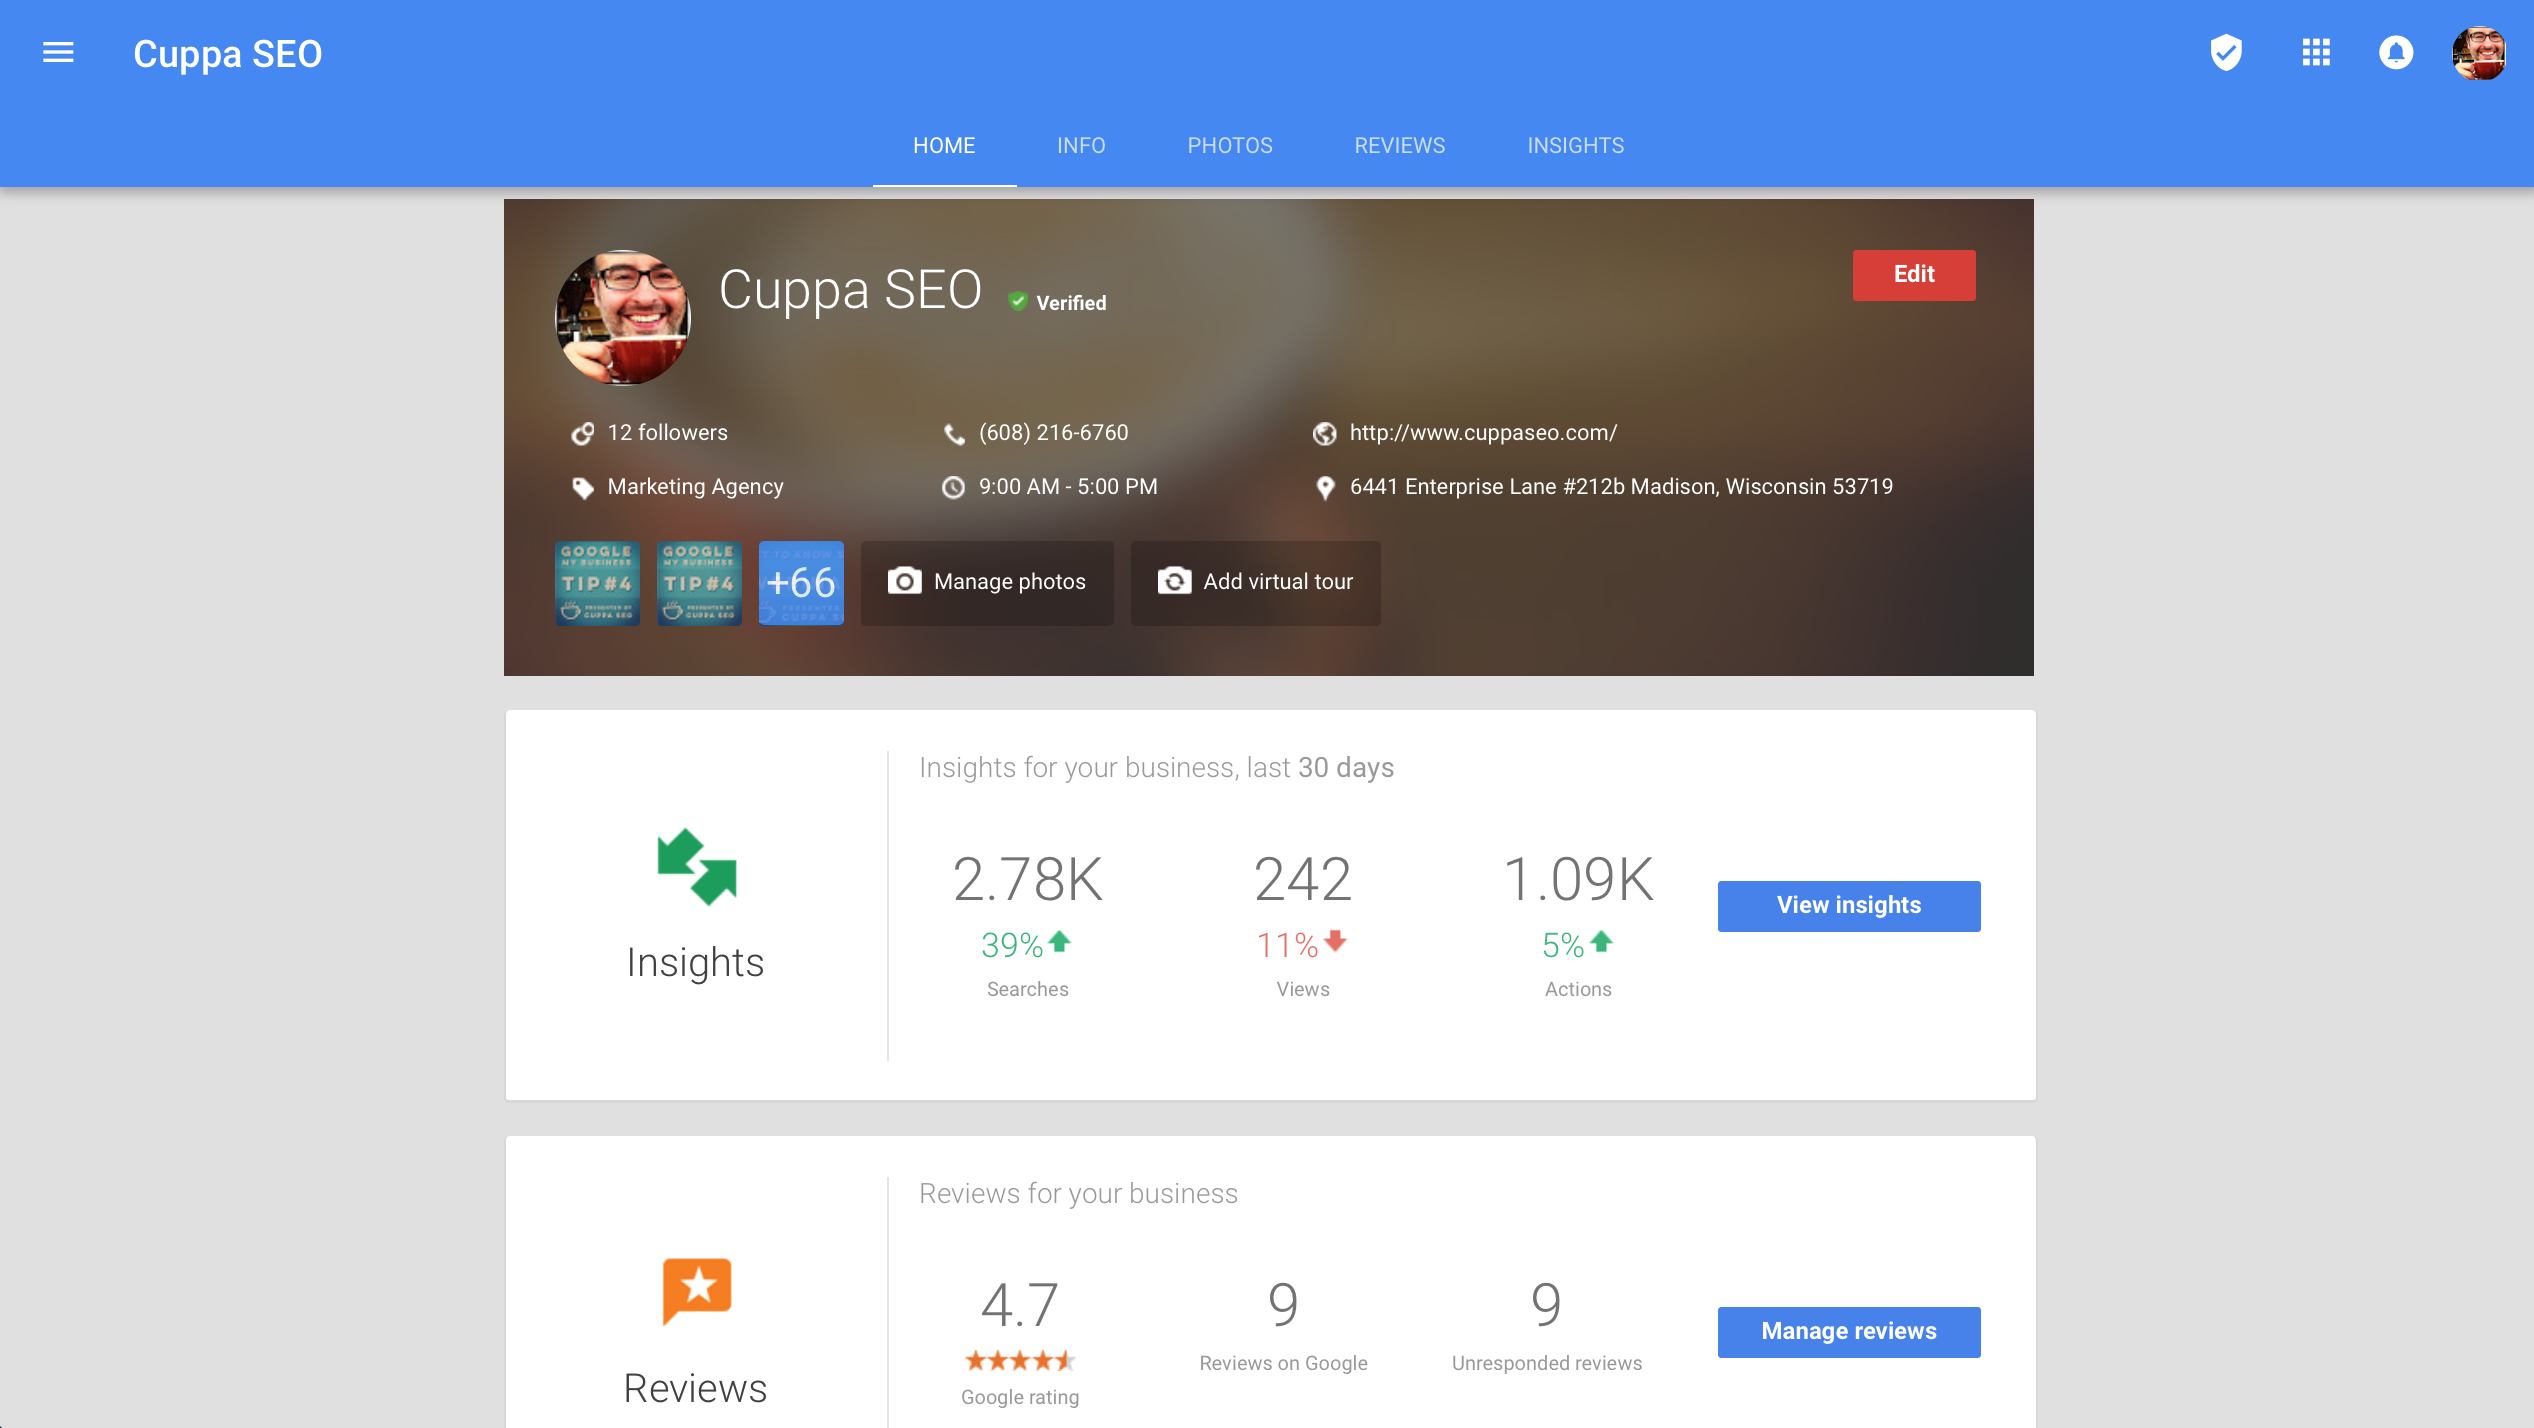
Click on the “Photos” tab, and then scroll all the way down to the bottom until you see the “Additional Photos” region.
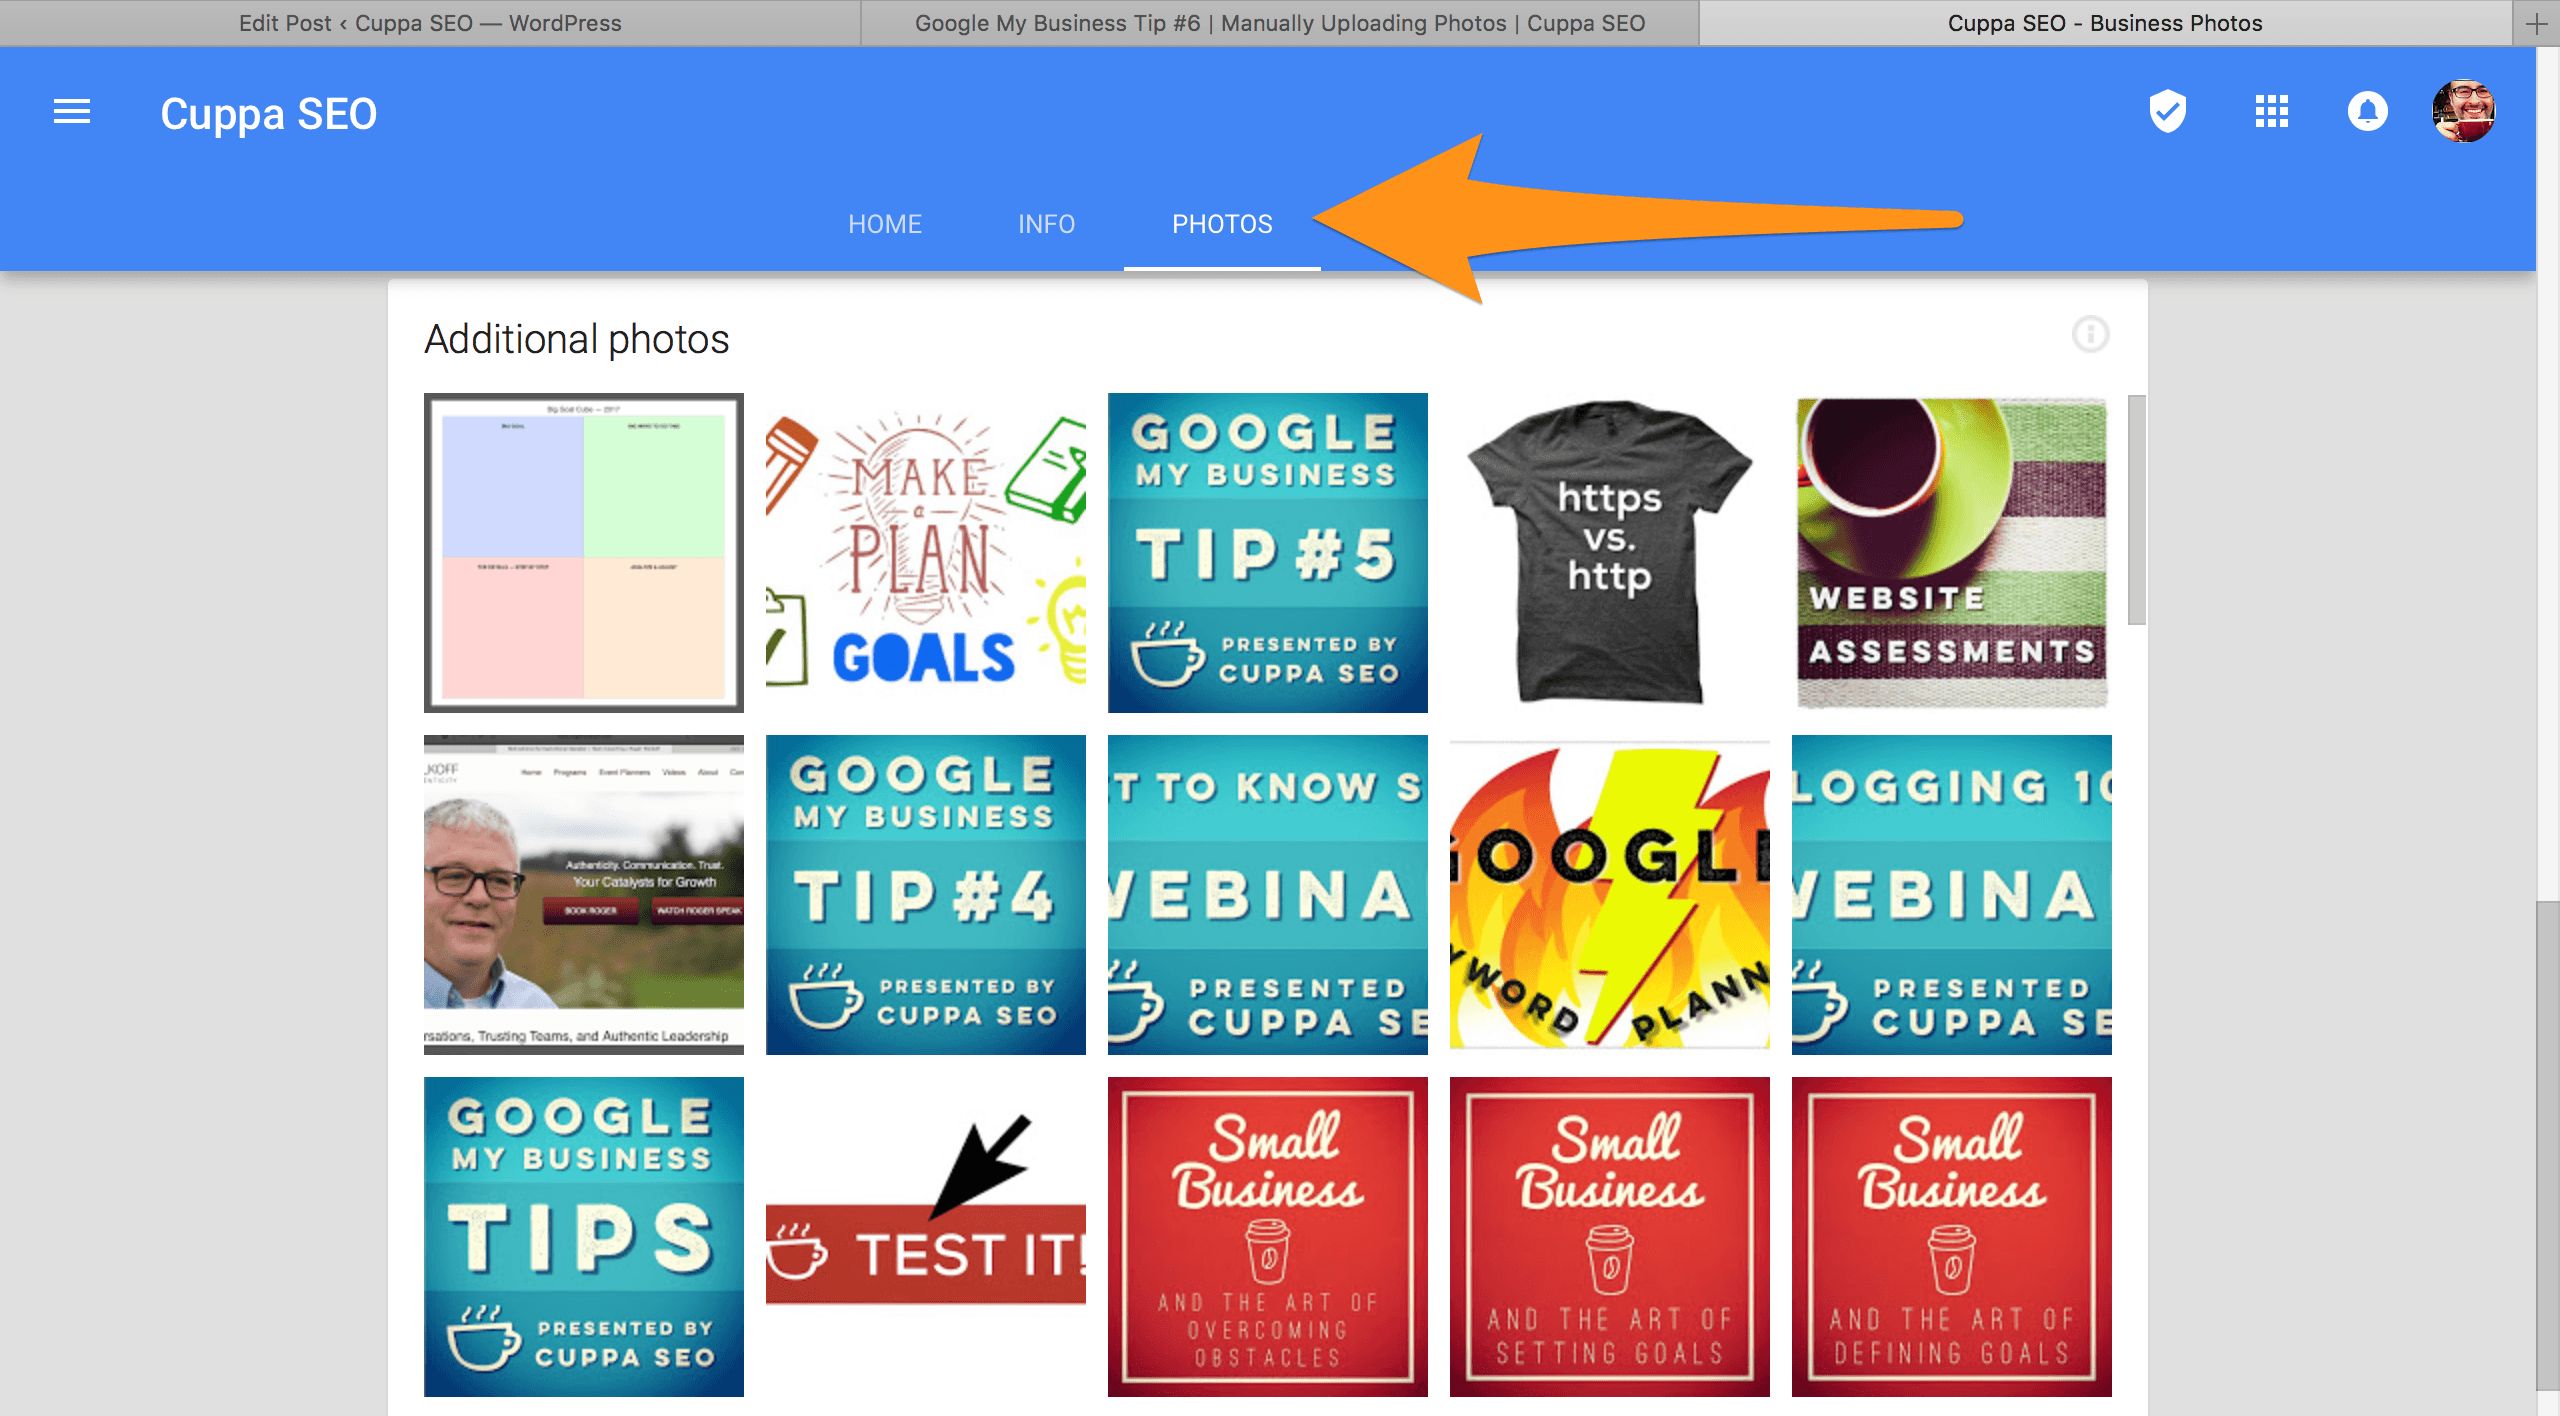
While you’re scrolling down to the bottom of the page, you’ll see other regions — like “Interior” and “Exterior” photos, and “Team” photos. If any of these additional regions are relevant to the photo you’re uploading, it’s totally OK to upload your optimized photo there. Otherwise, go with the “Additional Photos” section.
Step 3
Click on the “Add a Photo” link. If there are no photos in a section yet, you may find a “Add One Now” button to click so you can add your photo.
Next, you’ll see this …
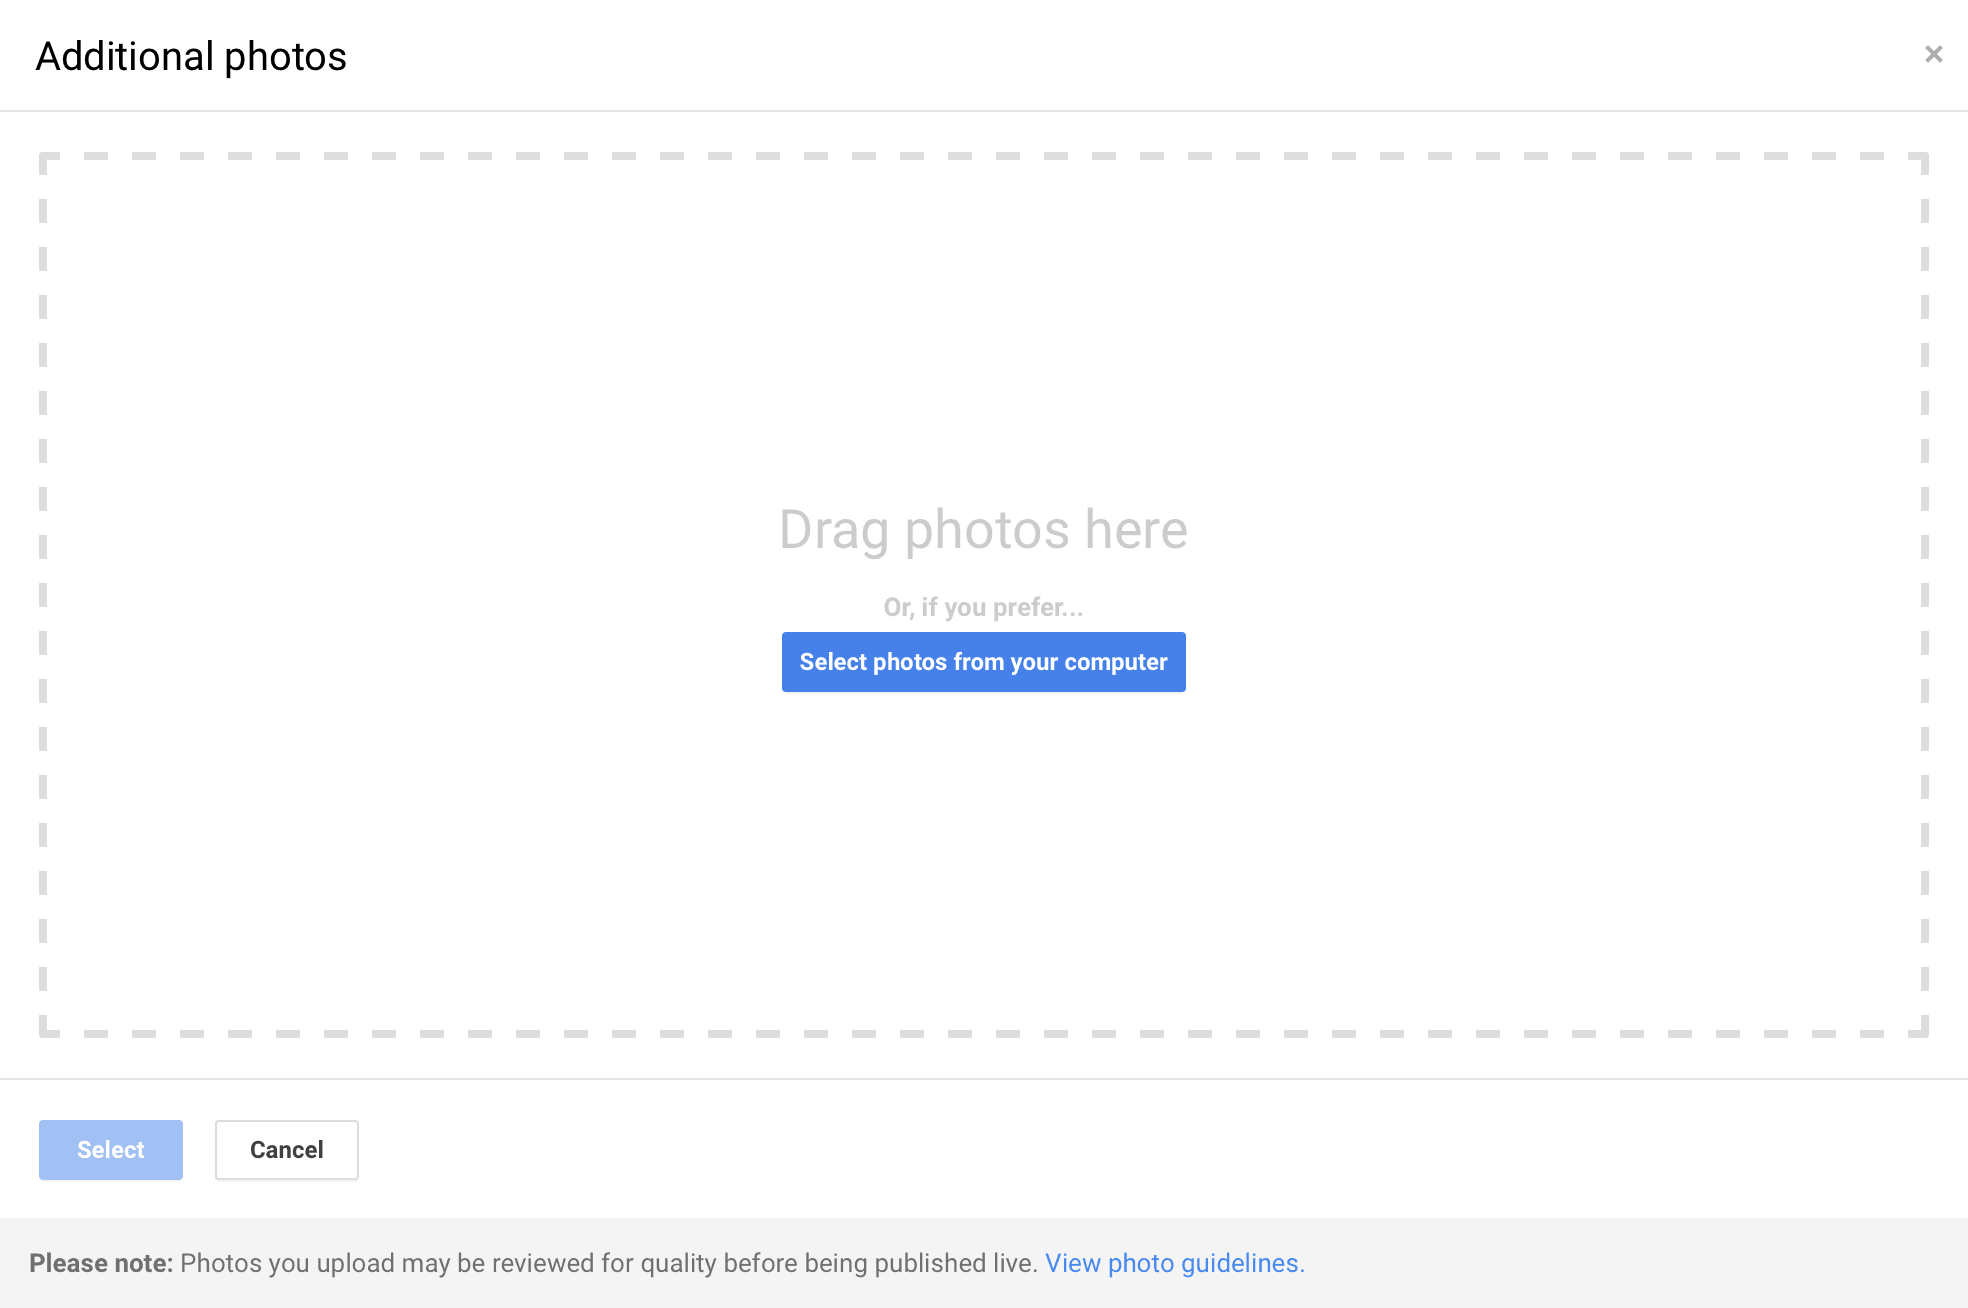
As you can see, you can now simply drag your optimized photo into this region, or click on the blue button to import it from a folder.
Once you’ve dragged the photo in, or selected it from a folder, Google will upload and save it automatically. It should now appear in the photos section you chose to place it in.
And now you’re done!
Remember, every time you publish a post on your Google My Business listing, take an extra minute to manually post the image in your photos library too.
Thank you for visiting the Cuppa SEO blog!

Additional installments of the series: